
Welcome to the Tech 4 Stampers blog hop. I bet you couldn’t guess, but this is my very first blog hop. Done is better than perfect. I’m blessed to be part of super talented group of demonstrators from around the world. I met them all when I started building my blog a year ago. They created this monthly hop several months ago, but I was not ready for prime time. And I may not be now, but I’ve got the cutest, easiest 2 pocket pouch you’ve ever created with 1/2 a sheet of designer series paper.
This month the theme is anything but a cardI decided to share this super cute, super quick 2 pocket pouch/gift card holder. I added a quick video to give a better idea of the cutting, scoring, and assembly.
Start with a piece of DSP cut 6 x 12″. If your DSP has a pattern, it needs to be vertical. On the short side score it at 1″ and at 5″. On the long side score it at 3″ and 8″. Cut of the 2 pieces that are 1×3. Burnish your score lines and cut notches at the 8″ score line for better folding. Fold the 2 sets of flaps in. Add adhesive to the outside (folded over) pieces that are 1×4. Bring the bottom panel to meet the middle panel and fold over the top. The top is the section that has no flaps.
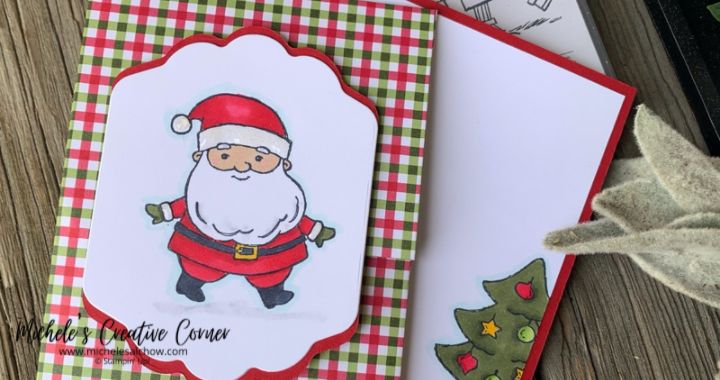
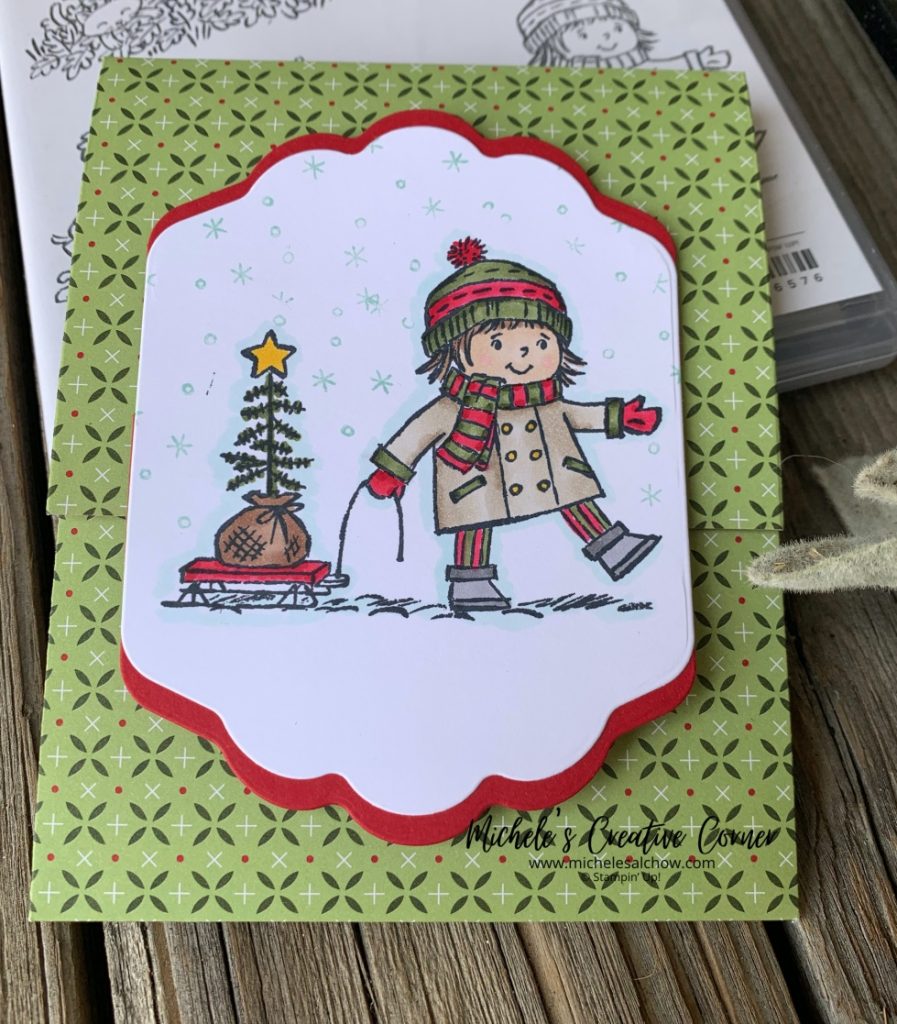
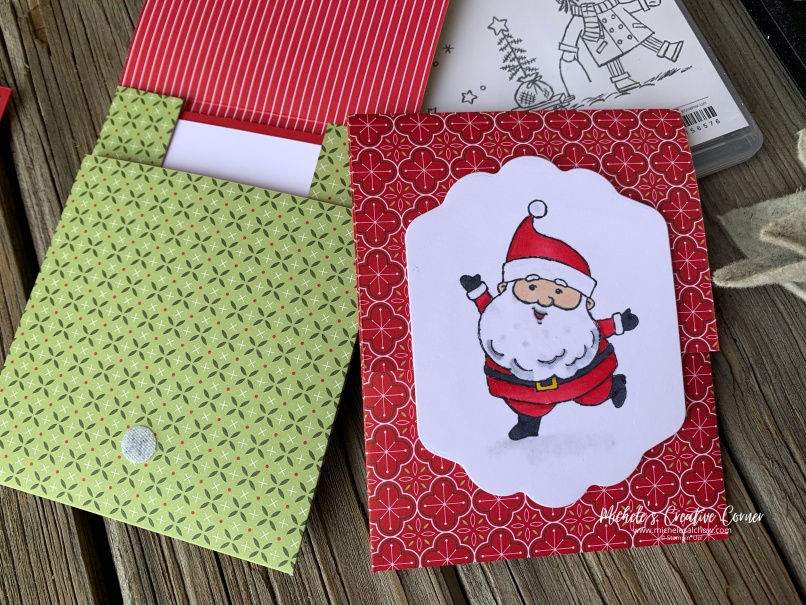
I cut 2 Basic White labels and 1 Real Red. The 3 layers has multiple purposes. Stamp and color your image on 1 of the white pieces. Stack it to the 2nd piece of white to add stability and hide the bleed from your coloring with the Stampin’ Blends. Cut the red label closer to the top than bottom and adhere it to the white stack to provide a mat at the bottom and top.
I created a card to slide into the back pouch where a message could be added. The Real Red layer is 3 3/4″ x 4 3/4″. The Basic White layer is 3 1/2″ x 4 1/2″. Stamp and color the white and adhere it to the red layer.
Attach the top 2/3 of the stack to the pouch with dimensionals. You can add a velcro dot or dimensional to hold the pouch closed. You could even add a piece of ribbon tied around it to hold it closed.
I created a short video to demonstrate how the pouch is cut, assembled, and scored. You can watch it on YouTube here.
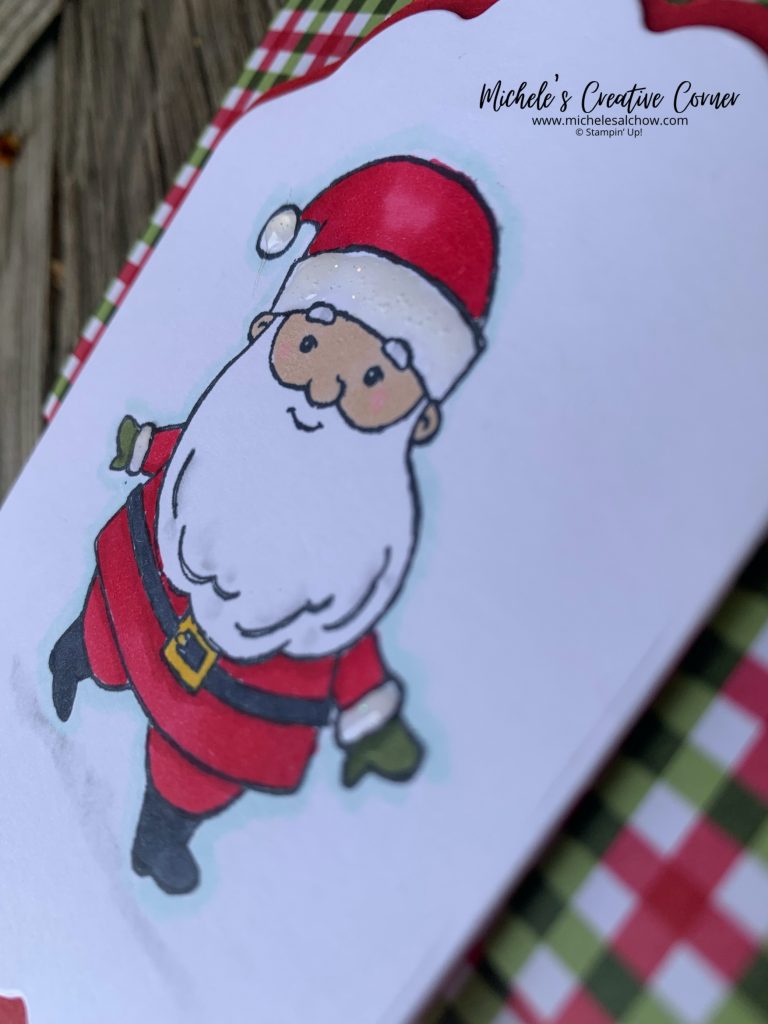
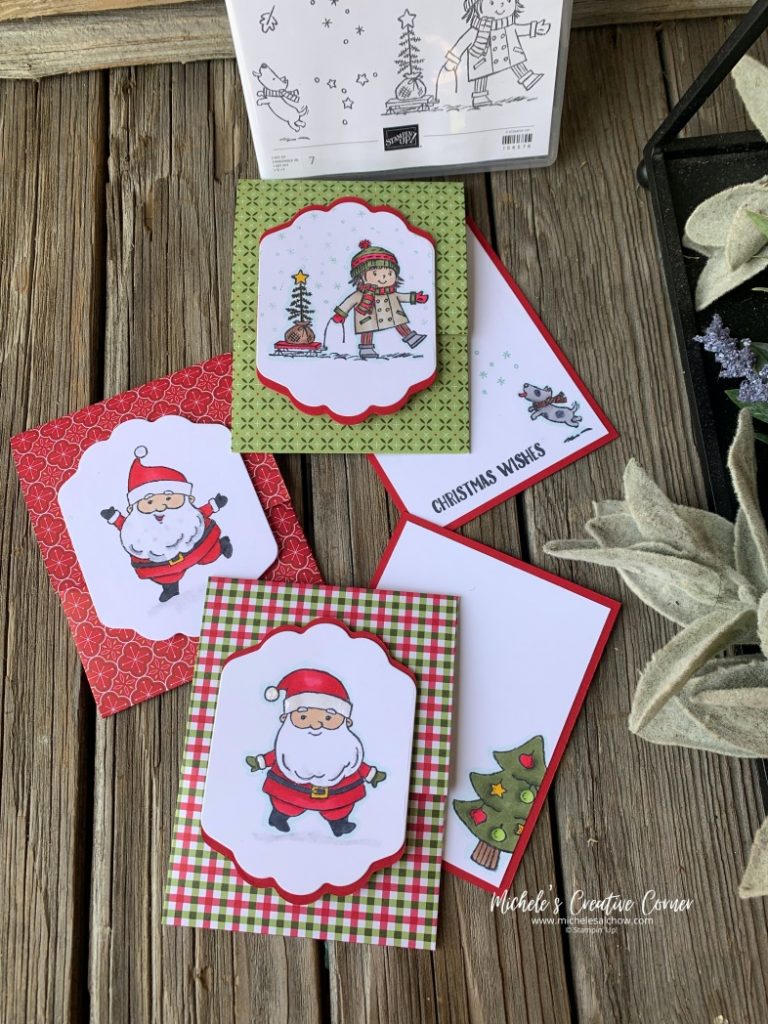
I stamped images from Be Jolly and Seasons of Fun and colored them with various Stampin’ Blends. I think I’ve added all the colors I used in the supply list at the bottom. I added Shimmery Crystal Effects tp Santa’s hat and cuffs. I resisted the urge to add Wink of Stella – that was not easy. Isn’t everything better with a little shimmer?
I hope you enjoy my project and you have enough details to recreate it yourself. I know you will enjoy the talents of the other demonstrators in the hop.


")


I would love to hear from you and know what you are creating today. Please drop a comment or email and let me know. [email protected]. If you would like to receive an email with every blog post please complete the form at the bottom of the post.
Stamped Blessings,
Michele